Wordpress with Varnish in Docker Ubuntu/Debian

To host an up-to-date wordpress is no longer a lot of work required.
This tutorial is for people who use their own server / VPS. Web hosting (wordpress.com, godaddy,…) is not covered here.
If you are using Ubuntu/Debian on your server, you are ready to go.
It only needs a server with Docker installed (link: https://docs.docker.com/get-docker/ text: Docker target: _blank title: Install Docker) and a few minutes of time. Are you already logged into your server via SSH?
If you don’t know what that means, get a program like (link: https://www.putty.org/ text: Putty target: _blank) (Windows) or on Linux/Mac just use the terminal.
With ssh user@ServerIP you can connect to your server and execute the further commands. Alternatively, you can run it on your computer first and then run it on your server later.
The first thing to do is to install a few required packages
sudo apt update

sudo apt install ca-certificates curl gnupg lsb-release git nano -y
Then you get the current GPG key from Docker and import the Docker repository
curl -fsSL https://download.docker.com/linux/debian/gpg | sudo gpg --dearmor -o /usr/share/keyrings/docker-archive-keyring.gpg

echo "deb [arch=$(dpkg --print-architecture) signed-by=/usr/share/keyrings/docker-archive-keyring.gpg] https://download.docker.com/linux/debian $(lsb_release -cs) stable" | sudo tee /etc/apt/sources.list.d/docker.list > /dev/null
And now docker will be installed
sudo apt install docker-ce docker-ce-cli containerd.io docker-compose -yTo start your first project, you have to get a (link: https://github.com/studplus/wordpress_docker text: Docker template target: _blank) from github and start it.
To do this, we still create a folder where all Docker data resides.
Type the following into your shell:
mkdir /var/docker

cd /var/docker

git clone https://github.com/studplus/wordpress_docker.git

cd wordpress_docker
Now you’ve created a folder and grabbed the Docker template (docker-compose.yml).
To see if it works and the wordpress is really running, you can use the shell command:
sudo docker-compose up -dNow the computer should get going and create everything that wordpress needs.
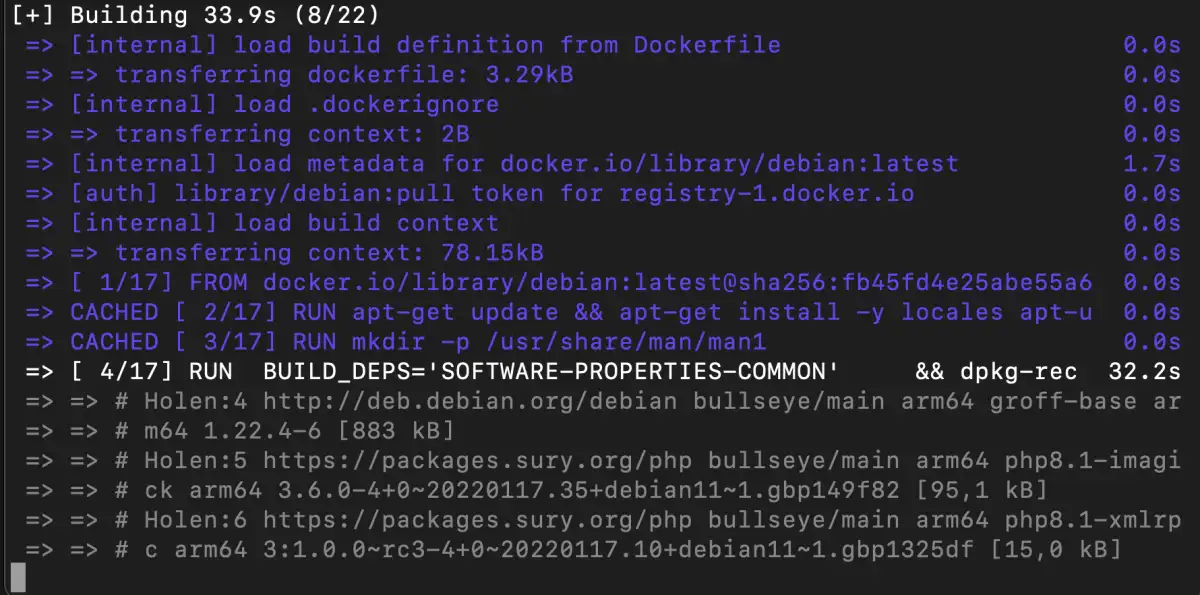
Once everything is done, you will see the following text

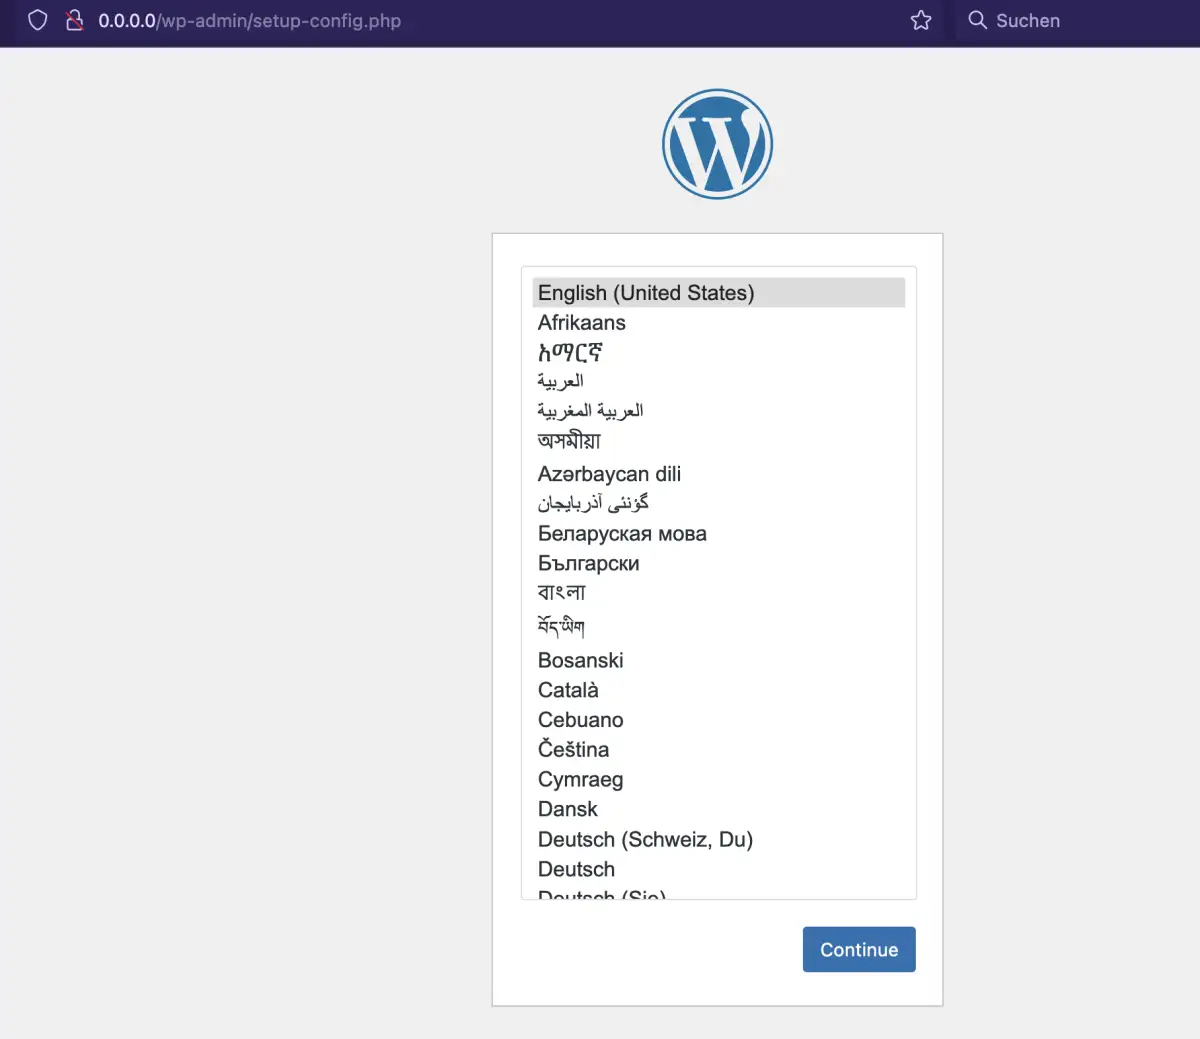
Now you can call in your browser (link: http://0.0.0.0 text: http://0.0.0.0 taget: _blank), or the IP address of your server and see if the Wordpress is ready?
Now you need to change the following in the wordpress_docker folder:
In /custom-wordpress/aliases - in the first line you enter the name of the domain, in the second and third an e-mail address of your server (so that you recognize from where a mail comes) and an official mail address, for customers or the like.
nano aliases

Save changes: press Ctrl+W then Y + Enter
app.conf - change the (ServerAlias) to mydomain.com and ServerEMail-address (ServerAdmin)
cronjob - Change the http://0.0.0.0 to https://yourdomain.com
msmtprc - I recommend using an email service to send emails. This can also be an email account from IONOS, STRATO, GoDaddy or SMTP provider AWS SES, Sendgrit, Mailgun,…
For this, delete the hash (#) and change the host to SMTP server, e.g. smtp.ionos.com, the port to e.g. 587, user is your username, password is your password and then enter from which email address the emails will come.
docker-compose.yml - Change the ports, user and password for the database and the name of the MYSQL_DATABASE
wordpress configuration - if you call 0.0.0.0 or your domain name.de comes a window for wordpress setup. There you enter the name of the database, username and password, as entered in docker-compose.yml under db. As database address only db is entered. This is done by Docker, because Wordpress already knows where to find the database with the term “db”.
Have fun!